Contact us
 Customer Area


 Visit LWS
Rate this article :
This article was useful to you ?
 Yes
Yes
 No
No
 Article read
9504 once
Article read
9504 once Merci ! N'hésitez pas à
poser des questions sur nos documentations si vous souhaitez plus d'informations et nous aider à les
améliorer.
Merci ! N'hésitez pas à
poser des questions sur nos documentations si vous souhaitez plus d'informations et nous aider à les
améliorer.Vous avez noté 0 étoile(s)



Procédure
If you run a very active site, it's not unusual to make regular changes to your pages and articles. In such cases, you have no choice but to empty the cache of the modified page or wait for the cache to expire so that it can be refreshed, which quickly becomes a waste of time.
That's why LWS Optimize lets you activate the automatic purge option: when your site is modified, this option will clear the cache of the pages concerned so that the changes are displayed dynamically to you and your customers.
Purging is also compatible with WooCommerce to keep your sales pages and your customers' shopping baskets dynamically updated.
Enable automatic purging to ensure that every page change or comment is immediately reflected on your site thanks to the powerful best-of-breed WordPress caching plugin. This system purges, in real time, caches as soon as an update is made, including WooCommerce shopping carts, to offer a user experience that is always fluid and up to date. You can also find this powerful solution in an official free version on the WordPress directory as the best free WordPress cache plugin.
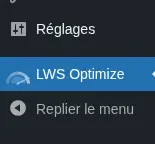
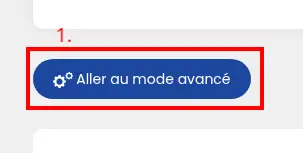
To activate the option, go to the extension settings, click on the button to switch to advanced mode and then go to the "Caching" tab:

Once on the page, find and tick the "Automatic Purge" box:

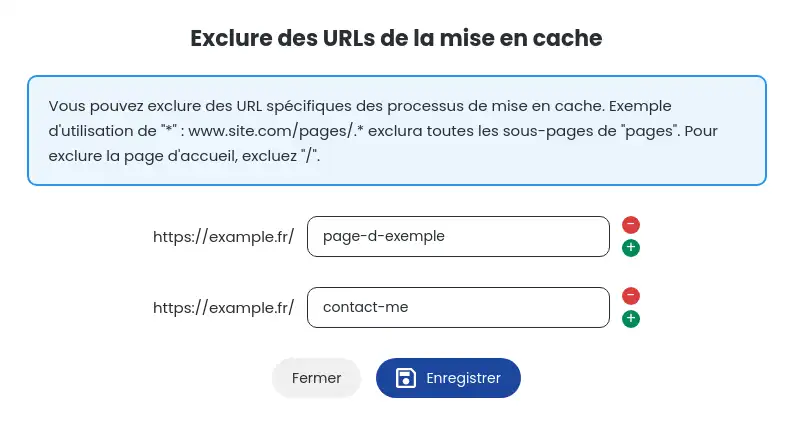
As all sites are different, you have the option of adding URLs to the exclusion list so that they are never deleted by the automatic purge. To do this, click on the "Exclude URLs" button under "Automatic Purge".
Alternatively, you can add URLs which will be purged each time the automatic purge is run by clicking on "Specify URLs".
In both cases, this will open a window in which you can enter URLs. Click on the green and red buttons to add or remove URLs from the list. Once you have entered all the URLs, click on "Save".
Don't forget to save the changes by clicking on the "Save new configuration" button and that's it, the automatic purging of your LWS Optimize extension has been configured. This will be triggered when you modify a page/article or add a comment. If WooCommerce is active, the shopping basket will also be purged when an item is added/removed.
You now know how to: optimise cache management on your site by activating automatic purging, set up this functionality so that it adapts perfectly to your needs in terms of dynamic content and e-commerce with WooCommerce, and customise the list of URLs to be systematically excluded or included in the purging process. 🚀
With these tips, you'll ensure your users have a fluid, up-to-date user experience, while saving precious time on the technical maintenance of your site. 🛠️💡
We hope this article has helped you better understand the value and implementation of automatic cache purging with LWS Optimize. We thank you for reading and invite you to share your thoughts or questions in the comments section below. Your feedback is valuable to help us continuously improve our services! 🙏📝
Rate this article :
This article was useful to you ?
Yes
No
18mn reading
How can I minimize the files on my WordPress site with LWS Optimize?
13mn reading
How can I combine the files on my WordPress site with LWS Optimize?
15mn reading
How do I preload CSS files on my WordPress site with LWS Optimize?
9mn reading
How do I disable WordPress emojis with LWS Optimize?
 About LWS :
LWS is a 100% French web hosting company that focuses on quality and innovation and offers a responsive and competent technical service at affordable prices.
About LWS :
LWS is a 100% French web hosting company that focuses on quality and innovation and offers a responsive and competent technical service at affordable prices.