
Online help
The web host accessible to all
Procédure
Initializing a LWS Panel shared hosting account means restoring it to how it was on the first day: you delete the site files, the MySQL databases and the email addresses, then you reset the DNS zone. Each part is independent of the others: you therefore need to carry out each of the steps below in the LWS Panel.
If you decide to completely rebuild your website, you will very likely need to initialize your entire shared hosting account. In order to successfully reset your shared hosting account, you will need to perform several steps so that it can be restored to how it was on the first day. The steps are as follows:
Indeed, since each part is completely independent from the others, it will be necessary to carry out each step in order to delete everything from your hosting account.
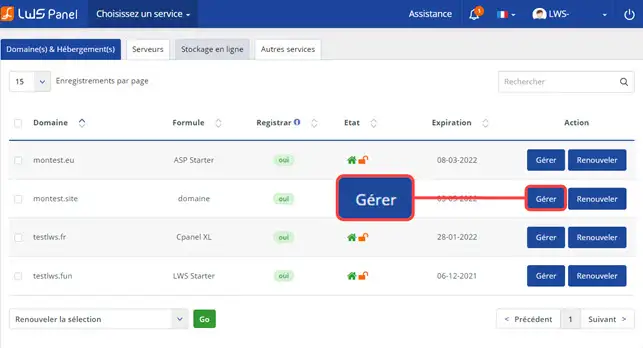
Log in to your LWS customer area by going to https://panel.lws.fr, then, in "Domain(s) & Hosting(s)", click on "Manage" located behind the relevant Web hosting. The hosting dashboard opens: all of the sections listed below are found there.
In the "Files" section, click on "File Manager". It opens in a new tab.

Open the "htdocs" folder (the web folder) in the tree on the left. Click on "Select all", or click on each line to delete: click on the line, not the name, otherwise the folder or file will open.
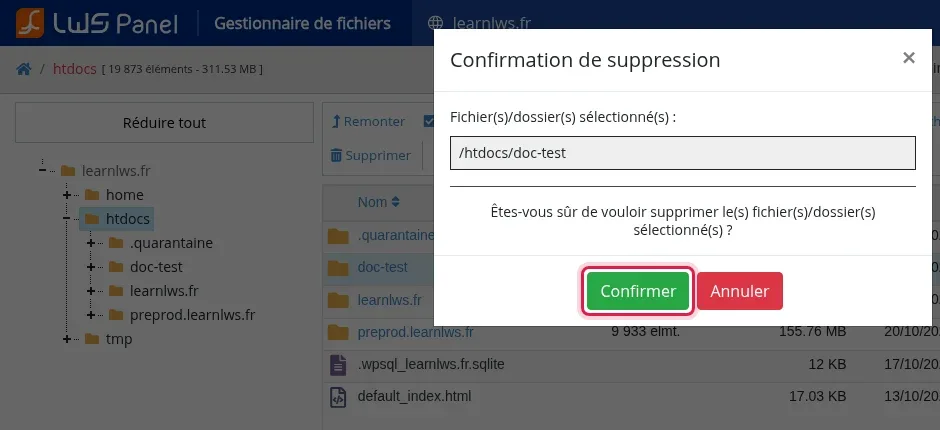
Click on "Delete" in the toolbar. The "Deletion confirmation" window lists the selected items: check them, then click on "Confirm". A folder is deleted along with all of its contents.
The deleted items disappear from the list and the tree.
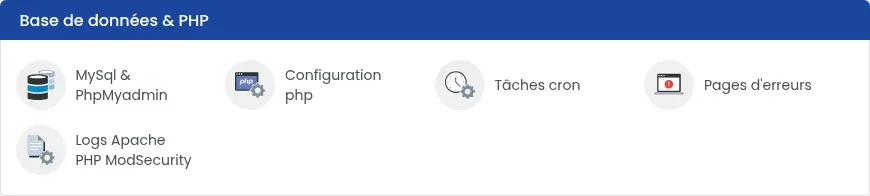
Return to the hosting dashboard. In the "Databases & PHP" section, click on "MySql & PhpMyadmin".
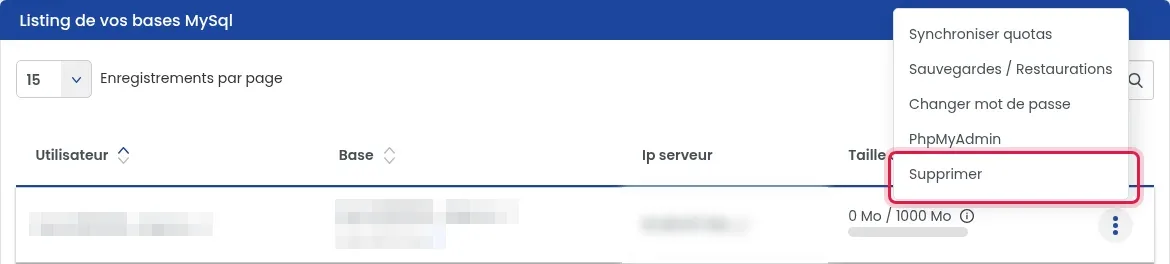
In the "List of your MySql databases" table, click on the "⋮" button at the end of the row for the relevant database, then click on "Delete".
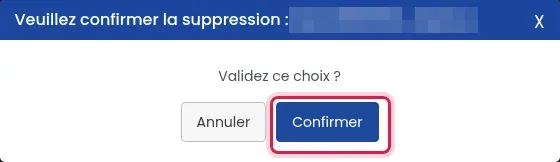
The "Please confirm deletion" window displays the database name: check it, then click on "Confirm". Repeat for each database.
The panel displays "The database … has been deleted", the row disappears from the table and the database count decreases.
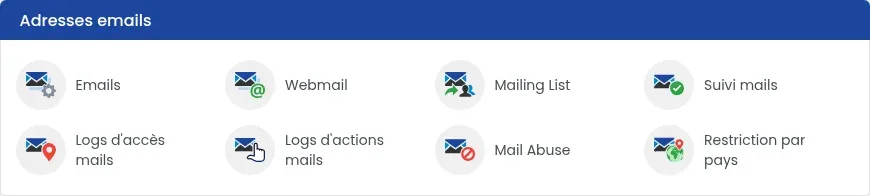
Return to the hosting dashboard. In the "Email addresses" section, click on "Emails".
In the "Summary & management of your Emails" table, click on the "Actions" button at the end of the row for the relevant email address, then on "Delete". For a redirection, the button is called "Action" and only offers "Delete". Repeat for each address.
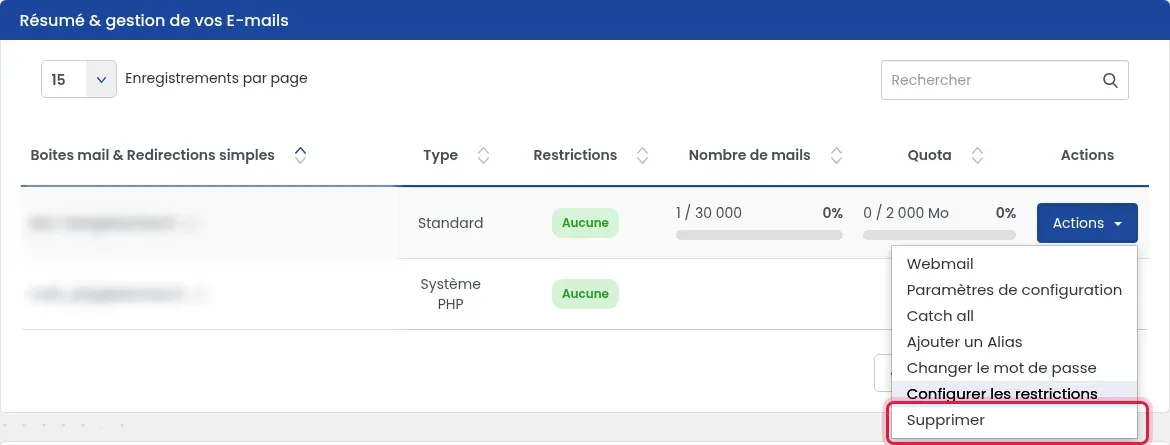
The panel displays "Email address deleted successfully" and the address disappears from the table. Deleting a mailbox also deletes its messages. The mail_php@ address (type "PHP System"), used by your site scripts, does not have an "Actions" button: it remains in place.
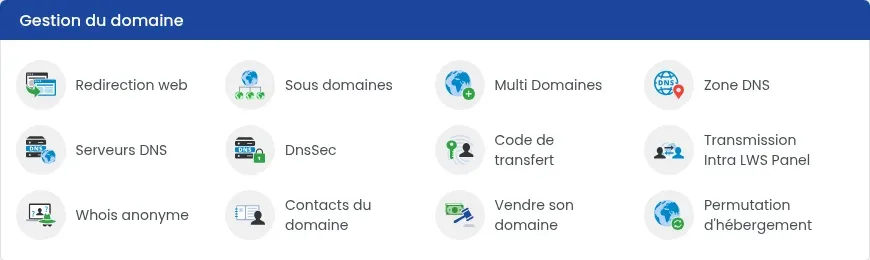
Return to the hosting dashboard. In the "Domain management" section, click on "DNS Zone".
At the bottom of the page, click on "Export zone" to keep a copy of your current records.
Click on the "Default reset" button to restore the DNS zone of your domain name to its original state.

You are now able to initialize your shared hosting account (web space, MySQL databases, emails, DNS zone) with LWS. Initializing your account deletes all data relating to your hosting.
Ask the LWS team and the community. Answers are published after moderation.
 About LWS :
LWS is a 100% French web hosting company that focuses on quality and innovation and offers a responsive and competent technical service at affordable prices.


 Yes
 No