
Online help
The web host accessible to all
Procédure
To create an online store on your LWS Panel web hosting, use the auto-installer: it offers three solutions, WordPress + WooCommerce, PrestaShop 9 and OpenCart, and installs them in a few minutes, database included. The old “Boutique E-commerce” button in the LWS Panel no longer exists: everything is done from the Software section, Auto-installer button (or PS Manager for PrestaShop). For a WooCommerce store, LWS also offers hosting plans optimized for WooCommerce, EC Starter, EC Standard and EC Performance, presented on the WooCommerce hosting page on lws.fr. Below you will find what you need to choose, then the step-by-step installation of PrestaShop.
Before you begin, it is important to choose the solution that best suits your needs. Each has its own features and advantages: compare them to find the one that best matches your goals and skills.
Three store solutions are offered in the auto-installer:
PrestaShop and WordPress + WooCommerce can be installed on all LWS Panel web hosting plans, starting from the LWS Perso plan. For a real store, with a large catalog or traffic, it is better to choose the LWS Starter plan or higher: the resources of LWS Perso (384 MB of PHP memory, 10 processes, a single database) can quickly be exceeded, and the store may become slow. You can change hosting plans as soon as the need arises.
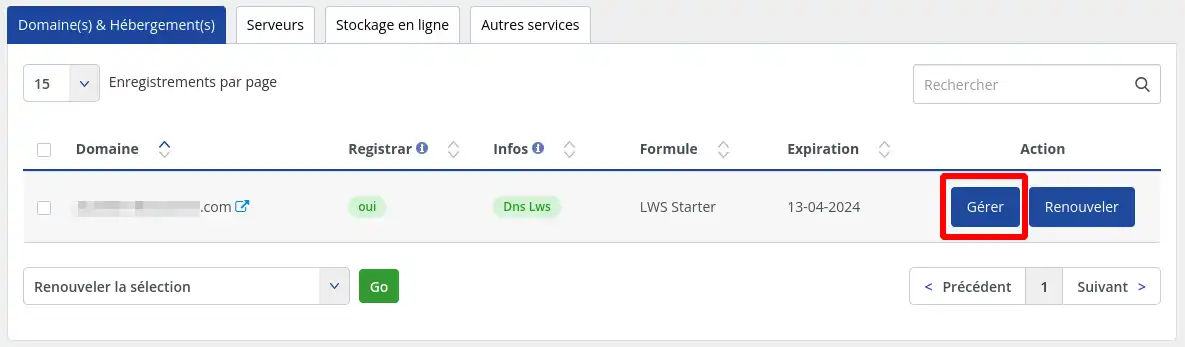
Log in to your customer account and click Manage next to the domain concerned by the installation.
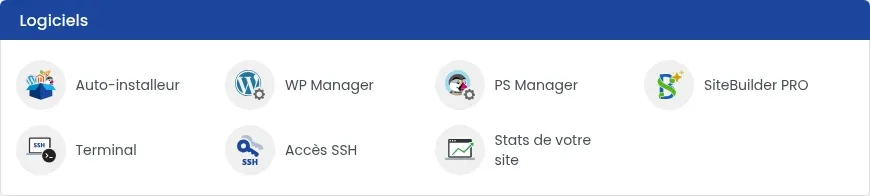
The Software section gives access to the Auto-installer and PS Manager.
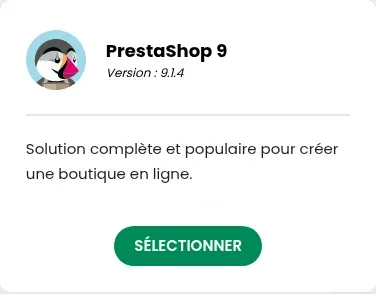
Click Auto-installer, then, on the PrestaShop 9 card, click SELECT.
You can also use PS Manager: in the “Install a new PrestaShop” block, click INSTALL. Both paths open the same form.

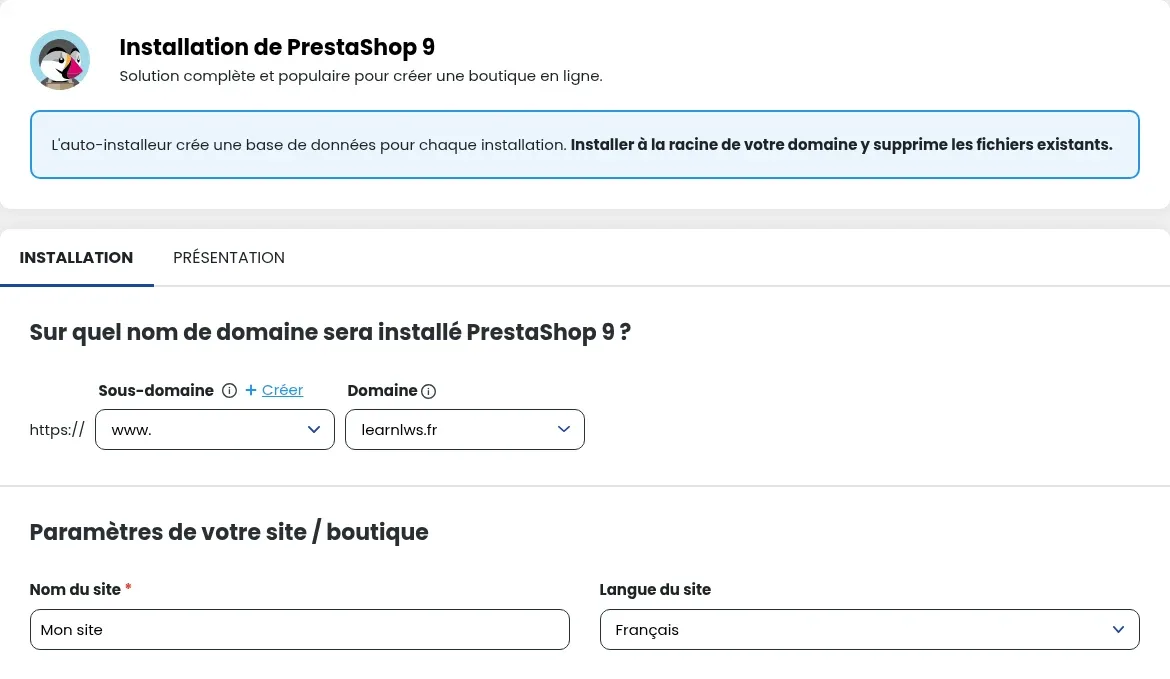
In the “PrestaShop 9 Installation” form, choose the Subdomain and Domain. To install the store on a subdomain (for example boutique.mondomaine.fr), choose it from the list or create it with the + Create link. The domain can also be a domain added with the multi-domain feature.
In the “Your site / store settings” section, enter the Site name and choose the Site language (French or English).
The auto-installer does not offer installation in a subfolder (for example mondomaine.fr/boutique): to have multiple sites on the same domain, create a subdomain per site.
Enter the Username, Email and Password (the Generate button suggests one), and if you wish your First name and Last name. Note these credentials: they are the ones used to administer your store.
Check the email address in the “Send installation details to:” field, then click INSTALLATION.

The “Site installation in progress...” bar appears. Stay on the page until 100%: allow about 2 minutes.

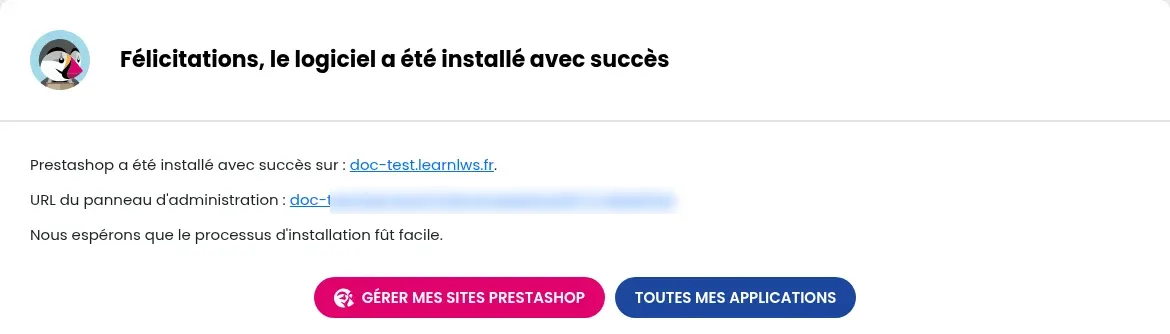
The “Congratulations, the software has been successfully installed” screen shows your store address and the administration panel URL. This admin address contains a folder name that begins with “admin” followed by random characters: keep it, as it is also sent in the installation details email. Your store then appears in PS Manager and in the active installations of the auto-installer.
In the auto-installer, click SELECT under the WordPress + WooCommerce or OpenCart card, then choose the address, site name and administrator account, as for PrestaShop, before clicking INSTALLATION. For WordPress + WooCommerce, the form is the WordPress one (extensions and theme to preinstall): it is detailed in the help article how to install WordPress with the LWS auto-installer.
The progress bar stops and then the form returns, with no message. This happens especially just after creating the subdomain in the form: wait a few minutes, then restart the installation. Each attempt creates a database, even if interrupted: once the store is installed, you can delete the empty databases that remain (see how to delete a MySQL database).
The folder of the chosen subdomain already contains files, for example leftovers from an interrupted attempt. If you do not need them, empty this folder in the file manager (after keeping a copy in case of doubt), then restart the installation. Otherwise, choose another subdomain.
Ask the LWS team and the community. Answers are published after moderation.
 About LWS :
LWS is a 100% French web hosting company that focuses on quality and innovation and offers a responsive and competent technical service at affordable prices.


 Yes
 No