
Online help
The web host accessible to all
Procédure
To move a WordPress site to another domain or subdomain in your LWS account, use the LWS Panel WP Manager: Clone copies the site to another address on the same hosting plan, while LWS Cloud Migration sends it to a domain hosted on another plan in your account. In both cases, it is a copy: the old site stays online, unchanged, until you delete it. The Search and replace tool then fixes links that still point to the old address.
| Your situation | WP Manager tool |
|---|---|
| The new address is on the same hosting plan (a subdomain, alias, or domain on this plan) | IMPORT/EXPORT > Clone |
| The new domain has its own LWS hosting, in your account | IMPORT/EXPORT > LWS Cloud Migration |
| The site still shows the old address after the move | ADVANCED > Search and replace in WordPress |
In the hosting's LWS Panel, open WP Manager in the Software section, then click MANAGE opposite the site. Open the IMPORT/EXPORT tab, Clone sub-tab, then click CLONE THE SITE.
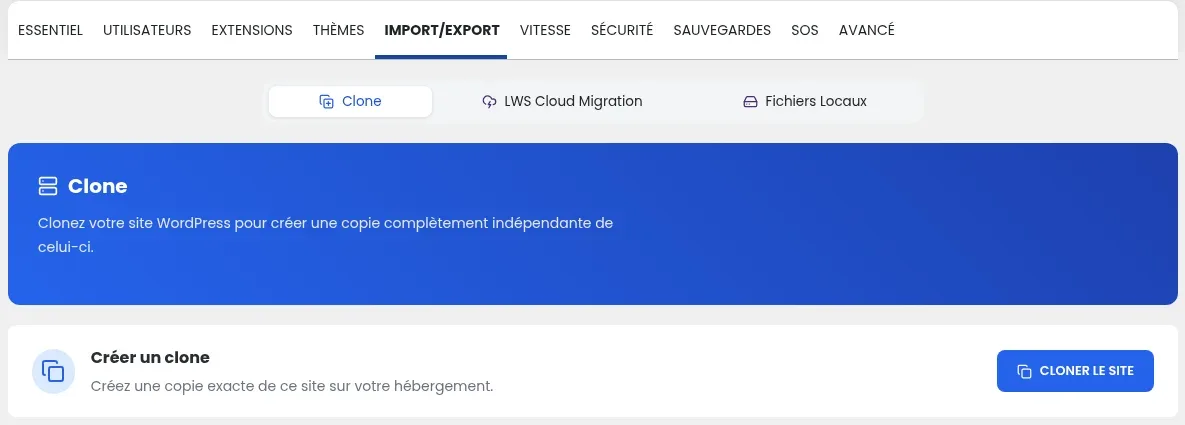
In the Clone the WordPress installation window, choose the new address from the Destination domain list. If the subdomain does not exist yet, click + Create: once created, it is selected in the list. The clone is installed at the root of a domain, subdomain, or alias, and the destination must be different from the original site. Then enter the site name in WordPress site name.
Leave Disable SEO unchecked: this box prevents search engines from indexing the site. It is intended for test copies, not for a site replacing the old one.
Check Overwrite if the folder exists: a folder already exists for the destination domain, even if it has just been created.
Click CLONE THE SITE at the bottom of the window, then wait without closing or refreshing the page. The new site then appears in the WP Manager list, with its new address.
The details of the cloning window are also described in How do I clone my WordPress site with WP Manager?.
LWS Cloud Migration transfers a WordPress site between domain names hosted at LWS in your account. The original site is copied to your LWS Cloud, then imported from the WP Manager of the other hosting plan.
In the WP Manager of the original hosting plan, click MANAGE opposite the site, open the IMPORT/EXPORT tab, LWS Cloud Migration sub-tab, then click Send to Cloud in the Back up to LWS Cloud block. A copy of the site is saved to your LWS Cloud; the original site is not modified.
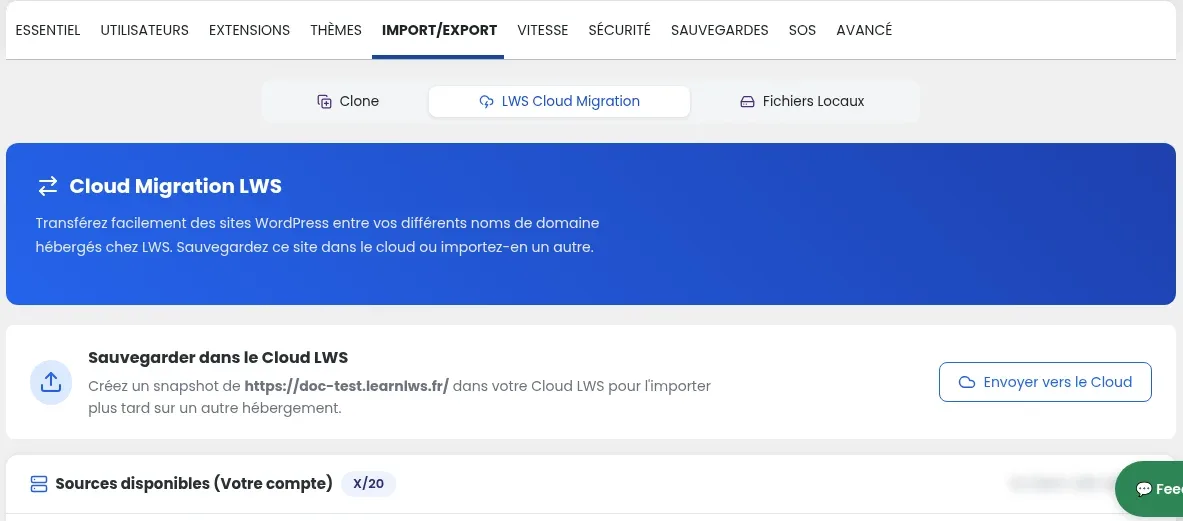
Importing is done from a site's WP Manager page: the new domain must therefore have a WordPress installation listed in the WP Manager of its hosting plan. If it does not, install one (see How do I install WordPress with the LWS auto-installer?). As a precaution, import into a WordPress installation that contains nothing you need to keep, and first create a snapshot of that site.
In the WP Manager of the destination hosting plan, click MANAGE opposite the new domain's site, then open IMPORT/EXPORT > LWS Cloud Migration. The copy sent in step 1 appears in the Available sources (Your account) list: import it from that list.
After a move, the site may still contain the old address: in links, images, or in an extension's settings (for example the reference address of an SEO plugin such as Yoast SEO). The Search and replace in WordPress tool in WP Manager replaces the old address with the new one throughout the WordPress site and its database.
The replacement applies to all occurrences of the searched text. First create a snapshot of the new site: BACKUPS tab, Snapshots block, CREATE A SNAPSHOT button. In case of an error, restore this snapshot.
In WP Manager, click MANAGE opposite the new site, then open the ADVANCED tab. In the Search and replace in WordPress block, make sure the Installation location to be modified field shows the new address.
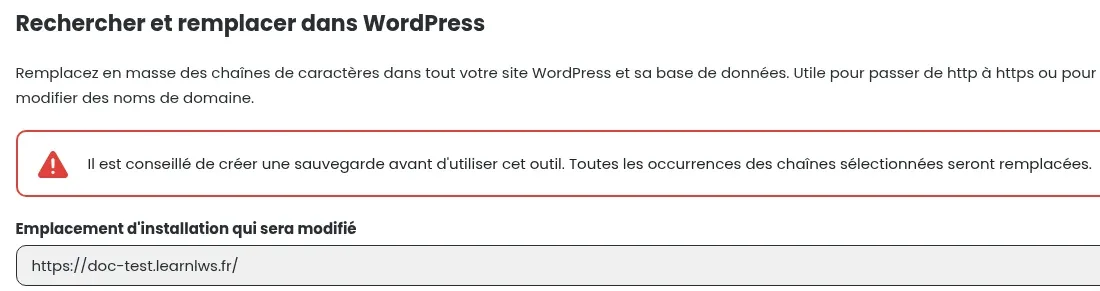
Enter the old address in Text to search for (for example https://old.example.com) and the new one in Replace text with (for example https://new.example.com), written in the same way. Then click SEARCH AND REPLACE.
Open the new address in your browser and browse a few pages: the text, images, and menus display, and the address at the top of the browser remains the new one. Then log in to the admin area using the Admin Login button on the new site's page. If a page still redirects you to the old address, repeat the step “Replace the old address with the new one”.
Once the new site has been verified, you can remove the old one. In WP Manager, click MANAGE opposite the old site, open the ESSENTIAL tab, Delete installation block, DELETE button. Type Delete in the confirmation field, then click CONFIRM DELETION.
To send visitors from the old address to the new one, set up a redirect: see Redirect a domain name to another web address.
Yes. Clone creates an independent copy of the site, and LWS Cloud Migration sends a copy (snapshot) of the site to your LWS Cloud: the original site remains online and unchanged. It disappears only if you delete it.
No. Cloning is not enabled on the Perso plan, which includes only one database. It is available starting with the Starter plan.
Check that the Disable SEO box was not checked during cloning. In the new site's page, SECURITY tab, the Search engine visibility switch must be enabled.
Use the Search and replace in WordPress tool on the new site, after creating a snapshot, as indicated in the section “Fix addresses that still point to the old domain”.
Ask the LWS team and the community. Answers are published after moderation.
 About LWS :
LWS is a 100% French web hosting company that focuses on quality and innovation and offers a responsive and competent technical service at affordable prices.


 Yes
 No